It’s MDL Monday again and this week I am going to show you how to put together a simple material for simulating diamonds, including dispersion based on an Abbe number. Now, I’m not a 3D artist by any means, but MDL allows me to create a material like this based on the real physical properties of diamonds rather than trying to tune abstract parameters. This material is very simple but very useful if you need to simulate jewellery. You can build on it easily to simulate other gemstones, glasses and similar substances without much effort. Today I’m just going to start with a basic, colourless diamond and cover some concepts which are important for creating physical materials.
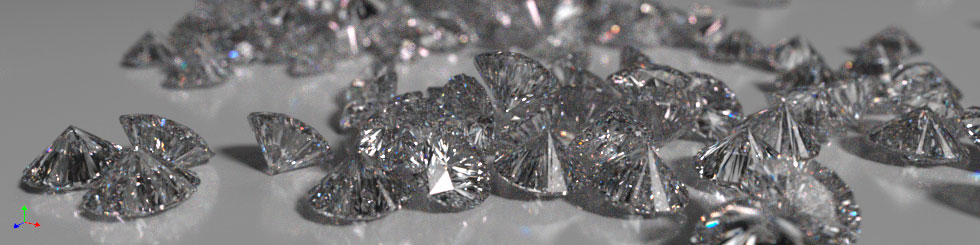
Diamonds Rendered in Iray 2015 with Caustic Sampler Enabled
Before we break it down, let’s start by looking at the complete material for our diamonds. Much of it is standard MDL boilerplate, we only need the base and df modules for this one but we do have some interesting parameters defined. First we have the ior parameter, the Index of Refraction. You will find many differing references to what the index of refraction should be for diamonds, generally between 2.4 and 2.8, we will go with 2.4175 found here. We then have the abbe_number which determines how much dispersion will occur. Higher Abbe numbers mean less dispersion will occur, we take the diamond value from the same source as our Index of Refraction, giving us 55.3, which results in only a little dispersion. If you want to artificially exaggerate the effect so it is more obvious (or to make the diamonds looks more like Cubic Zirconia) use a lower number, such as 33. The final parameter absorption_coefficient is a bit tricker and deserves some more in depth explanation. To interpret this parameter it is important that you understand your scenes units.
mdl 1.1;

import df::*;
import base::*;

export material diamond(
		uniform float ior = 2.4175,
		uniform float abbe_number = 55.3,
		uniform color absorption_coefficient = color(0.001)
	)

	= material (
		ior:
			base::abbe_number_ior(
				ior: ior,
				abbe_number: abbe_number
			),
		surface:
			material_surface (
				scattering: df::specular_bsdf(
					tint: color(1.0, 1.0, 1.0),
					mode: df::scatter_reflect_transmit
				)
			),
		volume:
			material_volume (
				absorption_coefficient:	absorption_coefficient
			)
);
Just ask the Mars Climate Orbiter team, you have to get units right otherwise bad things happen. When you start specifying materials in a physically based way, units become critical since you are using values from the real world to define your materials. In the diamond material this becomes important for the absorption_coefficient. This parameter is passed to the material_volume structure in the material (see the MDL Documentation for further details) and it specifies the probability of light being absorbed by the material as it passes through each unit of its volume. It’s specified as a colour so you can control which parts of the spectrum are absorbed by the material.
Keeping it simple for now let’s say we have a monochromatic value of color(0.5,0.5,0.5), this means in effect that half of the light which enters the object is absorbed for every scene unit of volume it traverses. So if your object is 1 unit across then half of the light will be absorbed by the object before coming out the other side. If however your object is say 4 units across then only 6.25% of the light will emerge from the other side, half of half of half of half. So you can see why units become critical, the value you specify is per scene units distance, so if you assume your scene is in metres but it is in fact in centimetres then your objects will likely absorb all of the light and look very dark because the objects are acting as though they were 100 times larger.
You will note we are specifying this value on the volume part of the material. Even though we are not making what is generally thought of as a volumetric material. This part of the material controls what happens to light inside an object made of this material. Because of this it’s also important that you model the objects being used correctly, if your object is solid, like a diamond then it should be modelled as a solid object, if it is hollow and containing air then it should have the correct thicknesses of its walls modelled so all of the interfaces between the air and the object are present. Keep in mind as well that of course light might not travel directly from one side of your object to the other, it can be refracted so may take a longer path, resulting in more light being absorbed by the volume.
If you simply provide a number for the ior value then you will get a normal, idealised material where the index of refraction is constant with wavelength (colour). By using the special abbe_number_ior function instead we can provide a wavelength dependent index of refraction based on the Abbe number of the material. We pass in the abbe_number parameter to this function along with the normal ior parameter of the material and it takes care of everything for us. As you have probably gathered you can use this function for any material you want to add dispersion to. Dispersion works with caustics as well so you can cast some pretty interesting patterns when using low Abbe numbers, like those seen in this scene posted on the Iray dev blog.

Iray Dispersion Caustics Example (Scene Courtesy of NVIDIA)
So we have absorption and dispersion but we also need surface properties. These are specified in the material_surface struct and since diamonds are close to ideal specular reflectors we will use the standard specular_bsdf() function with a pure white colour. We need to set its scattering mode to scatter_reflect_transmit so that it both reflects and transmits light. We don’t drive anything here from our input parameters but if you wanted to could expose more parameters, or for example add a geometry struct to the material to specify normal variations to simulate imperfections in the diamond surface.
It’s definitely worth playing with the exposed parameters of this material and adding more of your own to see what happens. What types of gems could you simulate and how would you colour them? I didn’t cover it here however when you come to making coloured diamonds and gems you will find specifying the colour by absorption interesting since you need to specify the colour that will be taken away rather than the final colour, perhaps a more intuitive interface parameter could be defined that reverses this automatically. That exercise is left for the reader.
A quick tip to go out on. If you are using Iview2 from NVIDIA and creating your own MDL materials, you can force it to reload the MDL files by pressing Ctrl-W-P to hide the MDL preset pane and then press it again to bring it back, this will cause the files to reload and if you haven’t used the material you can re-assign it. This helps save some time when debugging materials. If you want to try out the diamond material for yourself you can download the complete file from the link below.
 Download the Complete MDL File.
Download the IView2 Scene File.
Download the Complete MDL File.
Download the IView2 Scene File.
Paul Arden has worked in the Computer Graphics industry for over 20 years, co-founding the architectural visualisation practice Luminova out of university before moving to mental images and NVIDIA to manage the Cloud-based rendering solution, RealityServer, now managed by migenius where Paul serves as CEO.